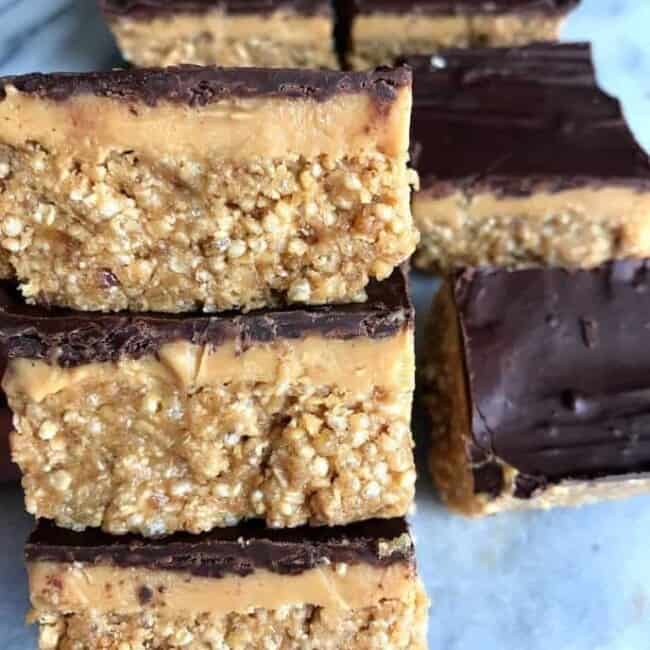
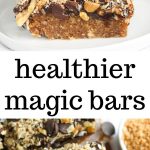
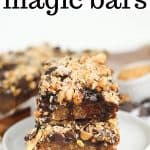
Healthier Walnut Magic Bars are a wonderful way to get your day’s serving of healthy fats while also satisfying your sweet tooth and making your belly happy! These 3-layer bars are made using delicious, healthier ingredients and are a well-rounded snack perfect for any time of the day.
This post is made in partnership with California Walnuts. All opinions are my own.

Your new favorite snack
Why spend extra time making something complex and difficult when you can have something that tastes amazing in a fraction of the time? My walnut magic bars are the answer to your snack woes, that’s for sure. Once you make a batch, you have easy, grab-and-go granola-style bars that are ready at a moment’s notice!
The truth, however, is that they don’t taste like granola bars at all. In fact, they’re better. Way better. These bars are made using dates, oats, a caramel mixture, and so much more. Oh, and they also include walnuts!
Not only are walnuts a super versatile nut with the ability to enhance the flavors of the dishes they are in, but they also pack a serious punch when it comes to health benefits.
The American Heart Association has certified walnuts as a heart-healthy food (1) making them an ideal choice in a heart-healthy diet. Creating a magic bar recipe with walnuts in the base and the topping is the perfect way to get in some good, unsaturated fats.
Incorporating walnuts into meals and snacks is a simple, tasty and convenient way to add satisfying nutrients to your diet such as fiber (2g/oz), protein (4g/oz), and good fats (2.5g/oz omega-3 ALA). More information on the California Walnuts page!
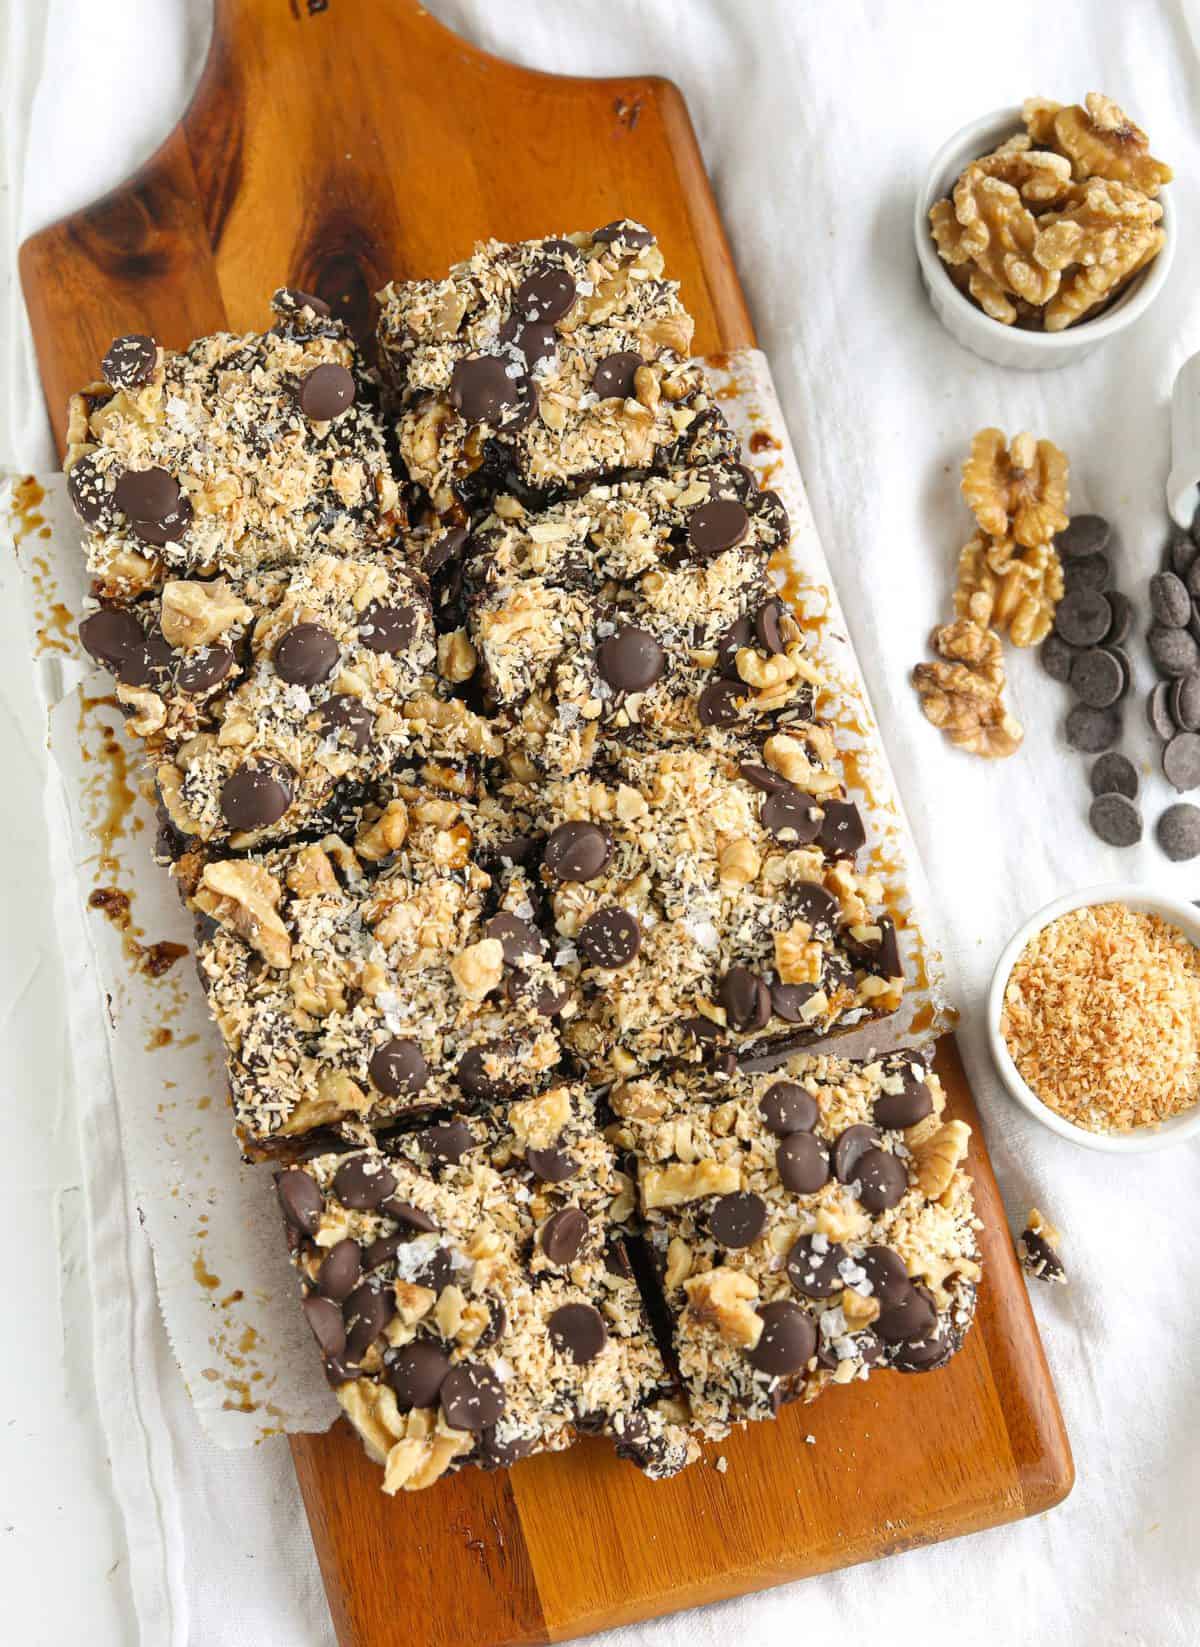
Walnut magic bar ingredients
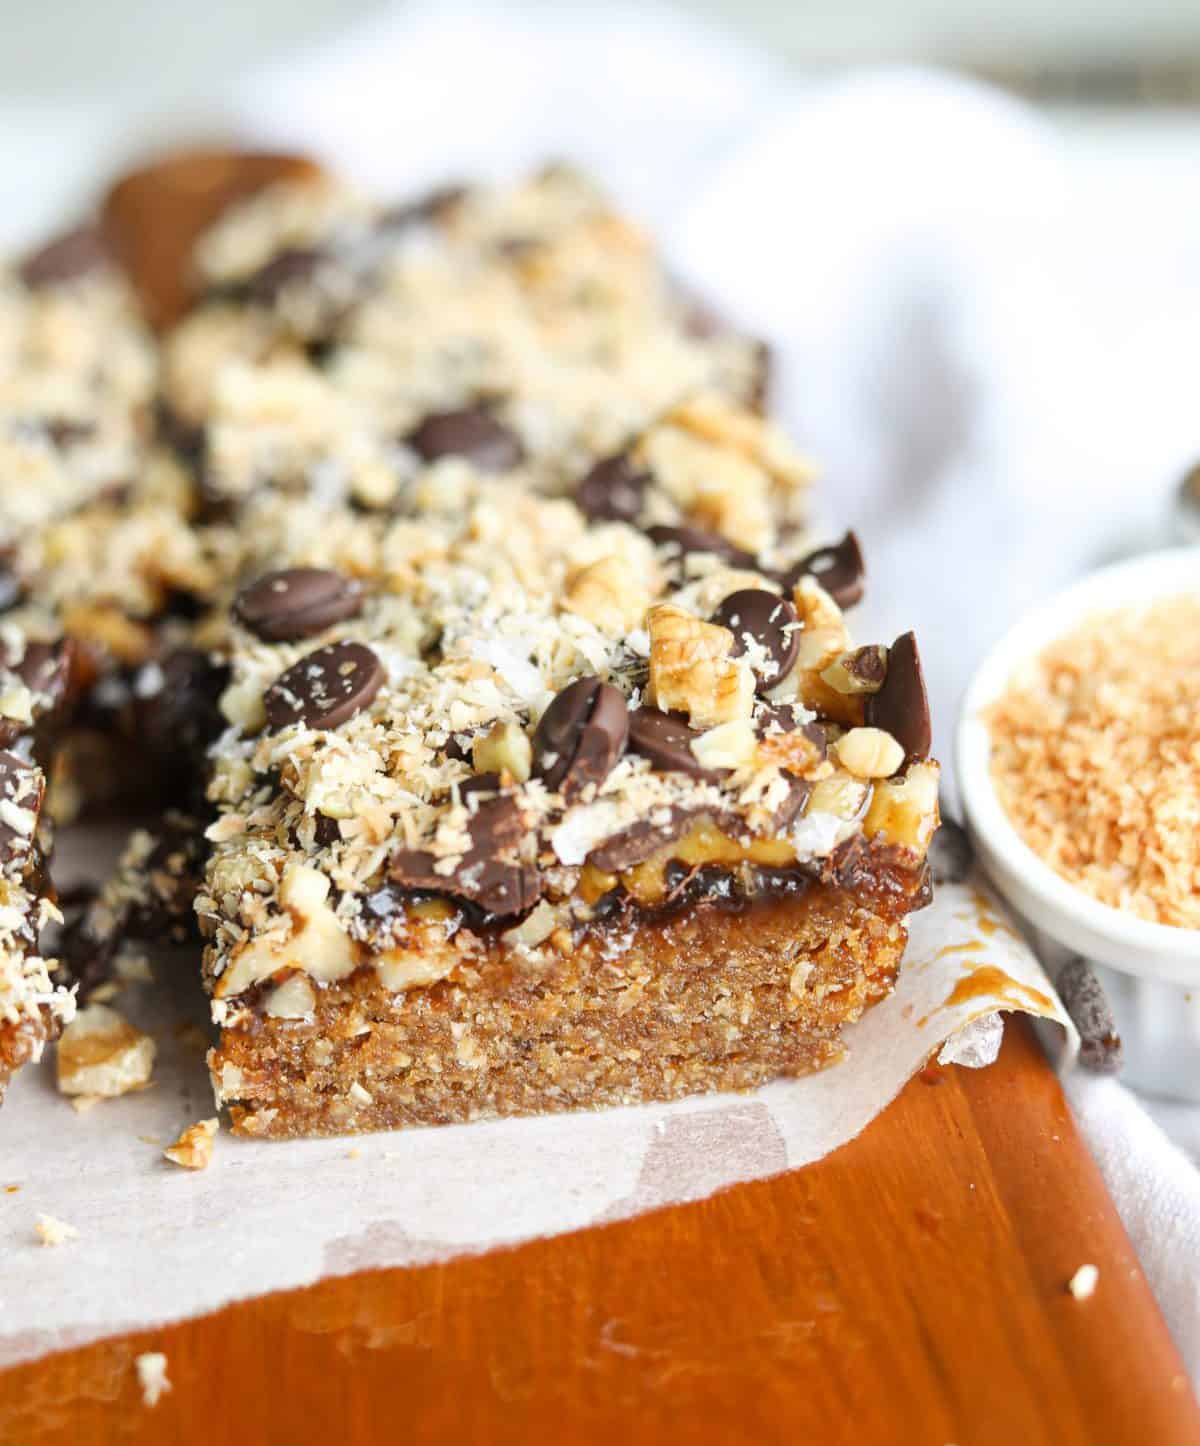
There are three parts to this recipe: the base, caramel, and toppings layers. Each one uses different ingredients and serves its own unique, flavorful purpose! Here’s what you’ll need for each part:
Base:
- Medjool dates
- Oats
- Walnuts
- Salt
Caramel:
- Full fat coconut milk
- Coconut sugar
- Salt
- Vanilla
Toppings:
- Walnuts (chopped)
- Chocolate chips
- Coconut (toasted)
- Sea salt
Tools used to make healthier walnut magic bars
These cookie bars are a low-maintenance treat. They don’t use a million kitchen tools, instead requiring just 6 tools to get things rolling. Here’s everything you’ll need:
- Baking sheet
- Parchment paper
- Medium saucepan
- Stirring utensil
- Food processor
- Bread pan
In terms of measuring cups, you’ll need to measure out 1/2 tsp, 1 tsp, and 1 cup.
How to make healthier walnut magic bars
Magic bars include the word magic for a reason. They’re so delicious, but they’re also easy to make! It’s a fool-proof recipe that will create the most savory, mouth watering bars ever. In total, you’ll need about 35-40 minutes to make your own!
To begin, start by preheating the oven to 350F and lining a baking sheet with parchment paper.
Toast the coconut flakes for 10 minutes, or until they reach a golden-brown color.
Next, make the caramel layer. In a medium saucepan, ring the thick white part of the coconut milk, along with the coconut sugar and salt, to a boil.
Reduce the heat to medium-low, stirring often. Let slowly bubble over the heat for 10-12 minutes or until the sauce has thickened. Once thickened, turn off the heat and add the vanilla. Set aside.
In a food processor, blend the dates, oats, walnuts, and salt until sticky and well combined. For reference, the dough should stick together when pinched. If needed, add a few splashes of water to help it move along.
Next, press the dough into the bottom of a bread loaf pan. I used an 8×4 inch pan.
Pour the caramel layer over the top of the base. Spread it around evenly.
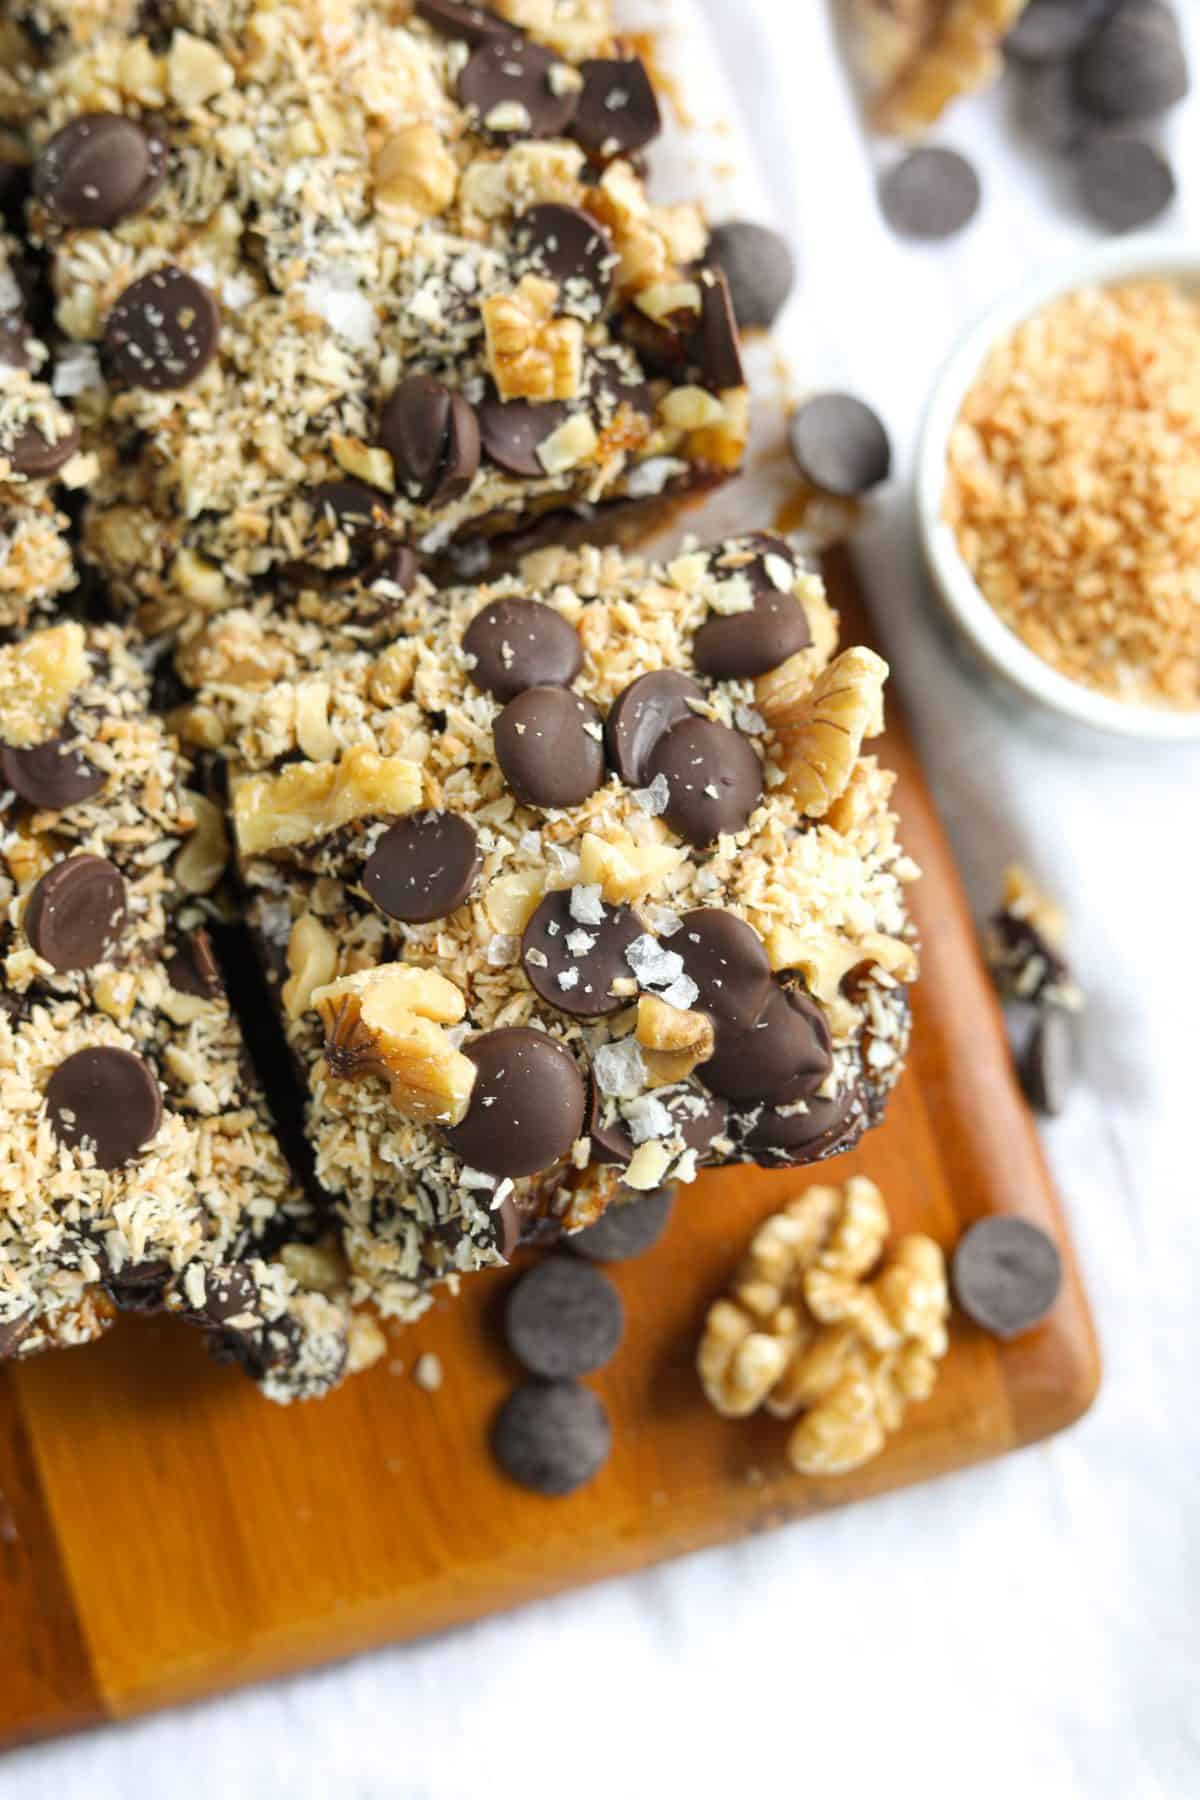
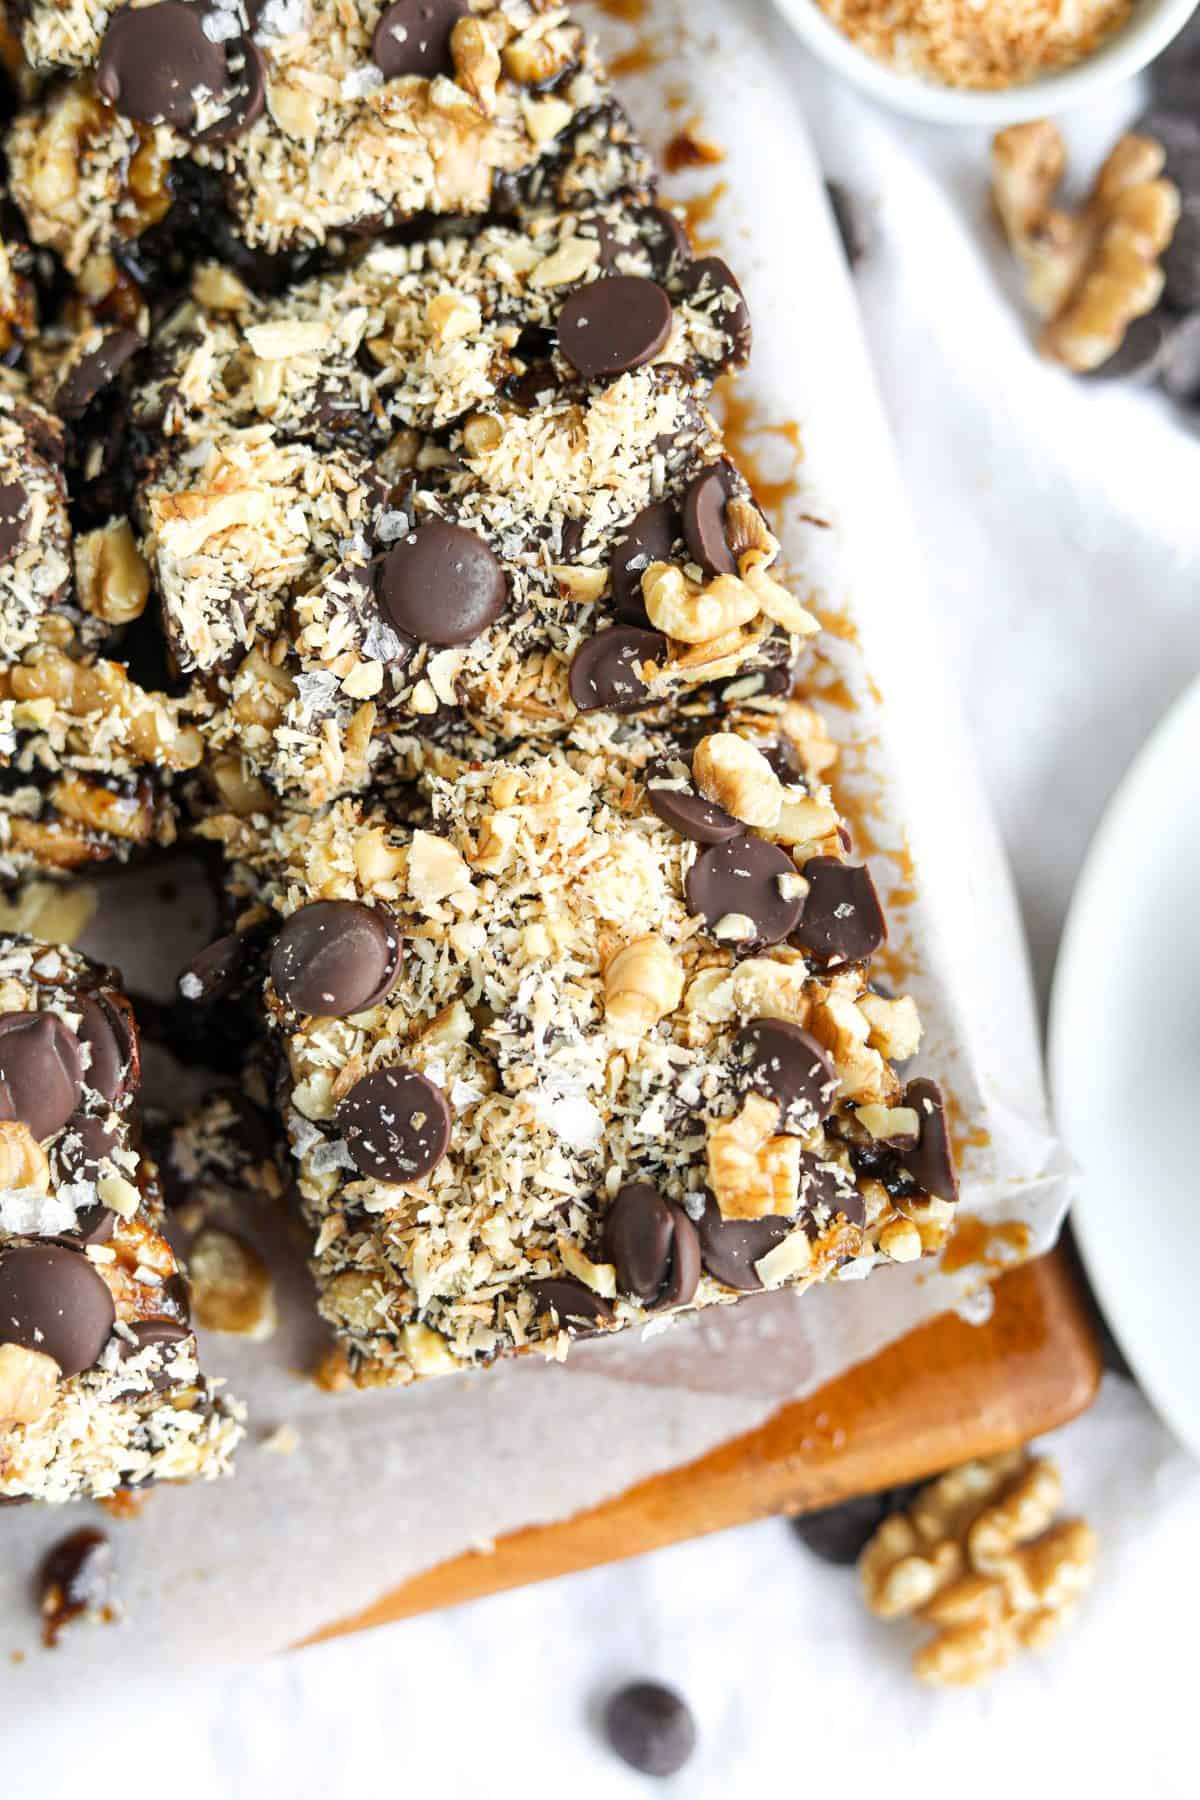
Add layers of chopped walnuts, chocolate chips, toasted coconut, and sea salt. Press down slightly on the toppings to get them to stick.
Place the pan in the oven for 5 minutes, or just until the chips have melted. This helps seal the toppings in.
Stick the pan in the freezer for at least 1 hour before cutting, and enjoy!
What part of coconut milk to use
When using coconut milk to make your caramel mixture, we’ll need 1 can of full fat milk. We will only be using the top thick white part, so leave the clear liquid behind.
It’s best to use milk that has chilled in the fridge overnight (or, you can use the same amount of coconut cream).
Get creative with recipe add ons!
This recipe can be whatever you make it. No matter your mood, you can use toppings to satisfy your exact cravings. Here are some fun ideas!
- White chocolate chips
- Dried fruit (strawberries, bananas)
- Sprinkles
- Icing
- Marshmallows
- Chocolate or nut butter drizzle
Is dessert your favorite?
Try these yummy dessert ideas next! Each one is simple to make, uses healthier ingredients, and tastes like a dream!
- Walnut Stuffed Chocolate Covered Dates
- Healthy Banana Cupcakes with Cream Cheese Frosting
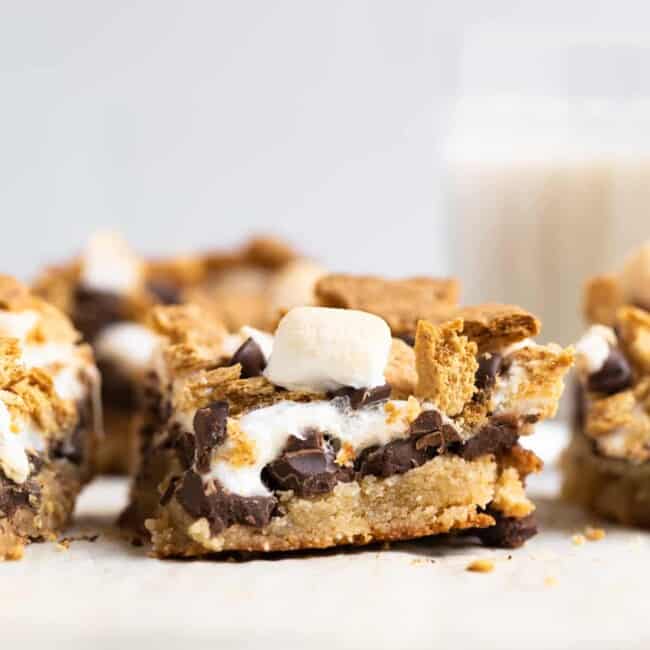
- S’mores Banana Bread
- Healthy Chocolate Chia Seed Pudding
- Healthy Peanut Butter Pie (Dairy-Free)
- (1) Supportive but not conclusive research shows that eating 1.5 ounces of walnuts per day, as part of a low saturated fat and low cholesterol diet, and not resulting in increased caloric intake may reduce the risk of coronary heart disease. (FDA) One ounce of walnuts provides 18g of total fat, 2.5g of monounsaturated fat, 13g of polyunsaturated fat, including 2.5g of alpha-linolenic acid, the plant-based omega-3.

Healthier Walnut Magic Bars
Ingredients
Method
- Start by preheating your oven to 350F, line a baking sheet with parchment paper, and toast coconut (from the topping portion) for 10 minutes or until golden brown.
- Make caramel layer next. In a medium sauce pan, bring the thick white part of the coconut milk, coconut sugar, and salt to a rapid boil. Once rapidly bubbling, reduce heat to medium-low, stirring often. Let slowly bubble over heat for 10-12 minutes or until sauce has thickened.
- Once thickened, turn off heat and add vanilla. Set aside and let cool for at least 30 minutes. Sauce will continue to thicken, and if it is still too runny, place in fridge for 30 minutes.
- In a food processor, blend dates, oats, walnuts, and salt until sticky and well combined. Dough should stick together when pinched. Add a few splashes of water if needed to help move along.
- Press dough into bottom of bread loaf pan. I used an 8×4 pan.
- Pour caramel layer over top of base. Spread evenly.
- Add layers of chopped walnuts, chocolate chips, toasted coconut, and sea salt. Press down slightly on toppings to get them to stick.
- Place in 350F oven for 5 minutes just until chips are melted, this helps seal the topping in.
- Stick in freezer for at least 1 hour before cutting into. Store in fridge.
Robin says
They are my weakness! I can’t stop eating them! I have been meaning to comment
Erin says
Hi Robin, so happy you loved them!!
Mary says
I couldn’t wait to try this recipe, so I ended up using cashews instead of walnuts. Absolutely FANTASTIC
Erin says
Hi Mary, so glad you enjoyed them!!
Robin iaconianni says
They are the best! You can’t even tell they’re made with dates! Great recipe! Highly recommend! 😊
Erin says
Hi Robin, so glad you love them! 🙂
Jessica says
AMAZING!!! definitely recommend making! Mine didn’t hold together super well, but still loved them
Erin says
Hi Jessica, thanks for your kind words! Hmm I wonder why they didn’t hold together. Let me know if you try them again and if they come out better.
Sierra says
How long would you say these stay good in the fridge or freezer?
Erin says
Hi Sierra, I keep mine in the fridge for up to one week! Let me know how yours come out!
Madiha says
Hello! Looks delicious! What can we replace the dates with? V
Erin says
I suggest any other dried fruit – prunes, apricots, raisins.