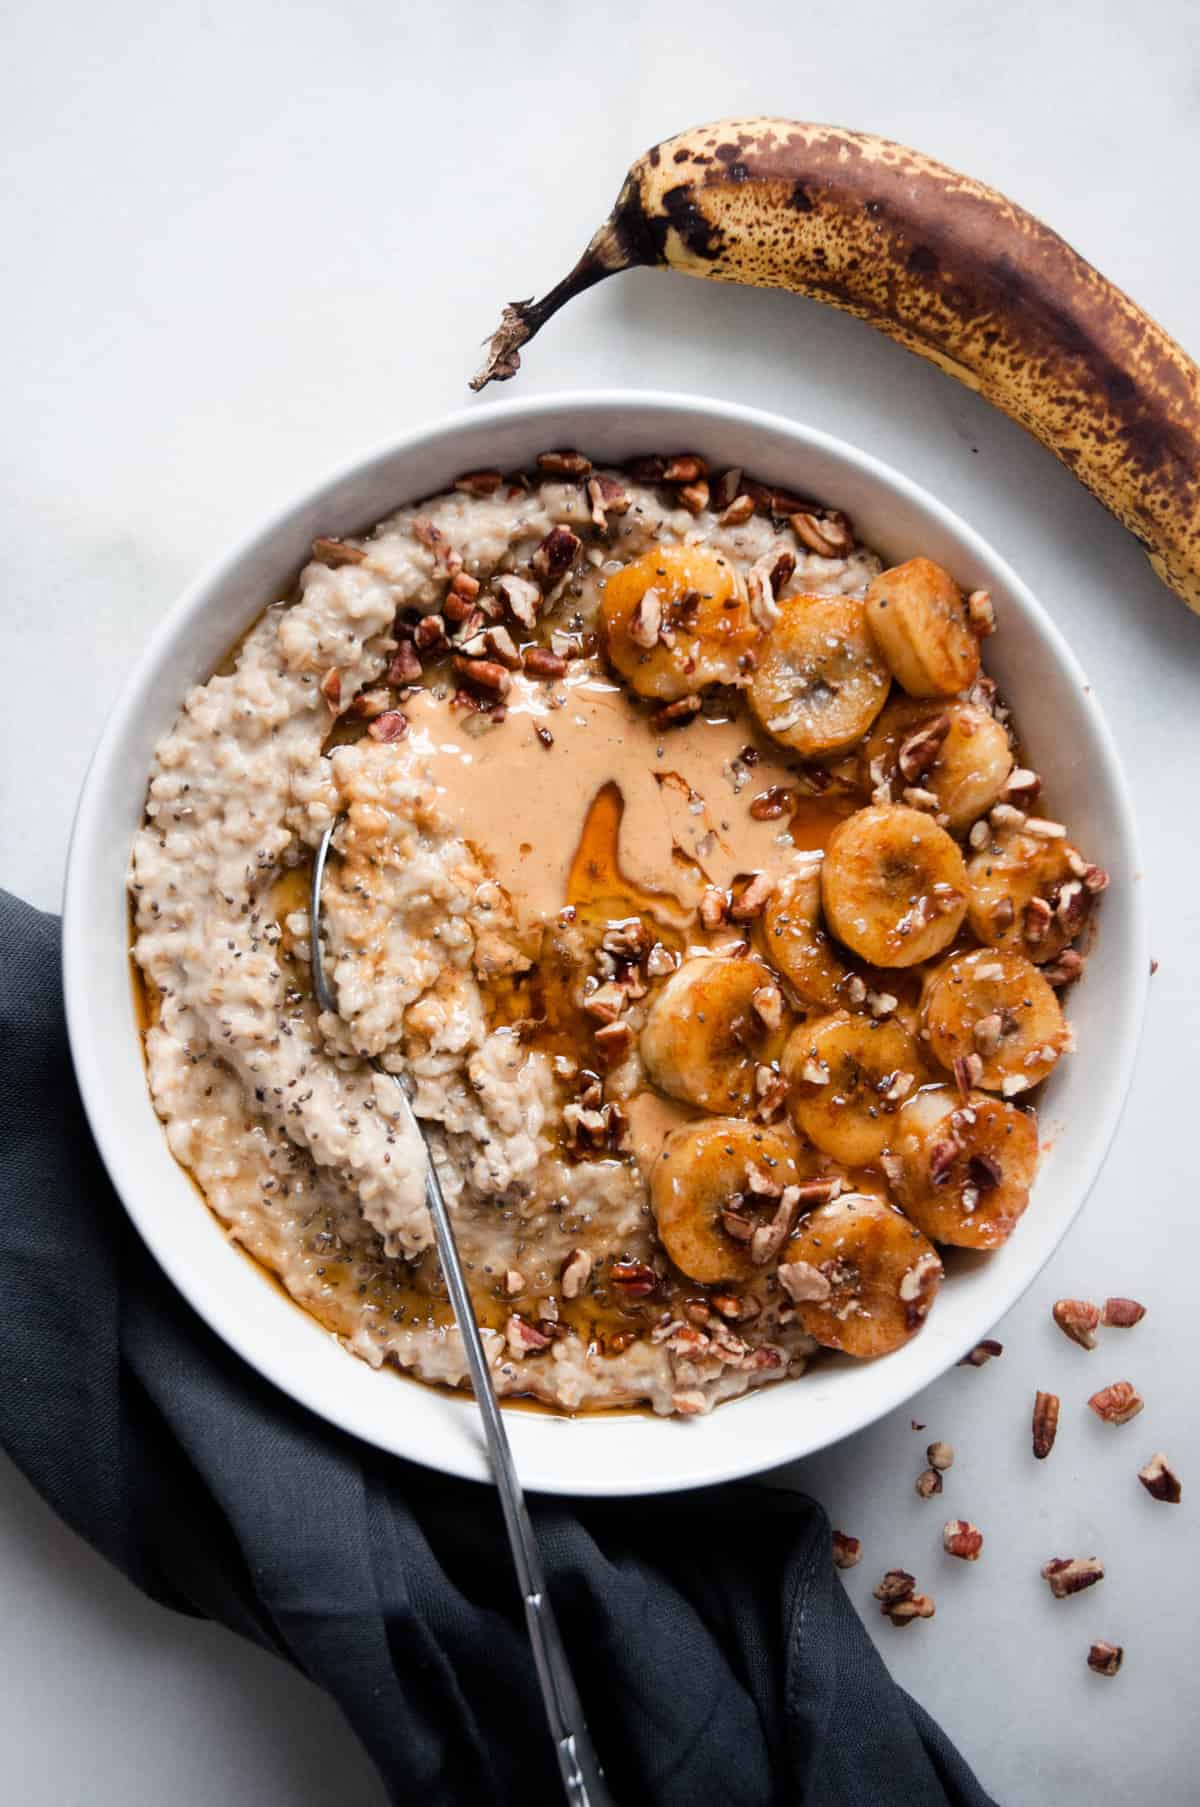
Want to learn how to make creamy steel cut oatmeal that is healthy and thick? This easy recipe has you covered. Made with steel cut oats, maple syrup, and almond milk, this oatmeal is the best for vegan and dairy free eaters alike.
Learning how to make creamy steel cut oatmeal can change your breakfast life forever. Once I figured out just how thick and creamy stove top oatmeal can be, I decided that I would never make microwave oatmeal again!
Oatmeal was a staple in our house growing up. It was a healthy and easy breakfast that I could prepare for myself before school or that my mom could quickly throw together for us.
We typically just made it with water, and I would cover it in either peanut butter or maple syrup (and even sometimes both!). The oats were always instant oats, too. But after being introduced to steel cut oats, I started playing around to find the best oatmeal recipe ever!
You can also make my Green Protein Smoothie or Peanut Butter Cup Smoothie to go with my oatmeal for a full breakfast.
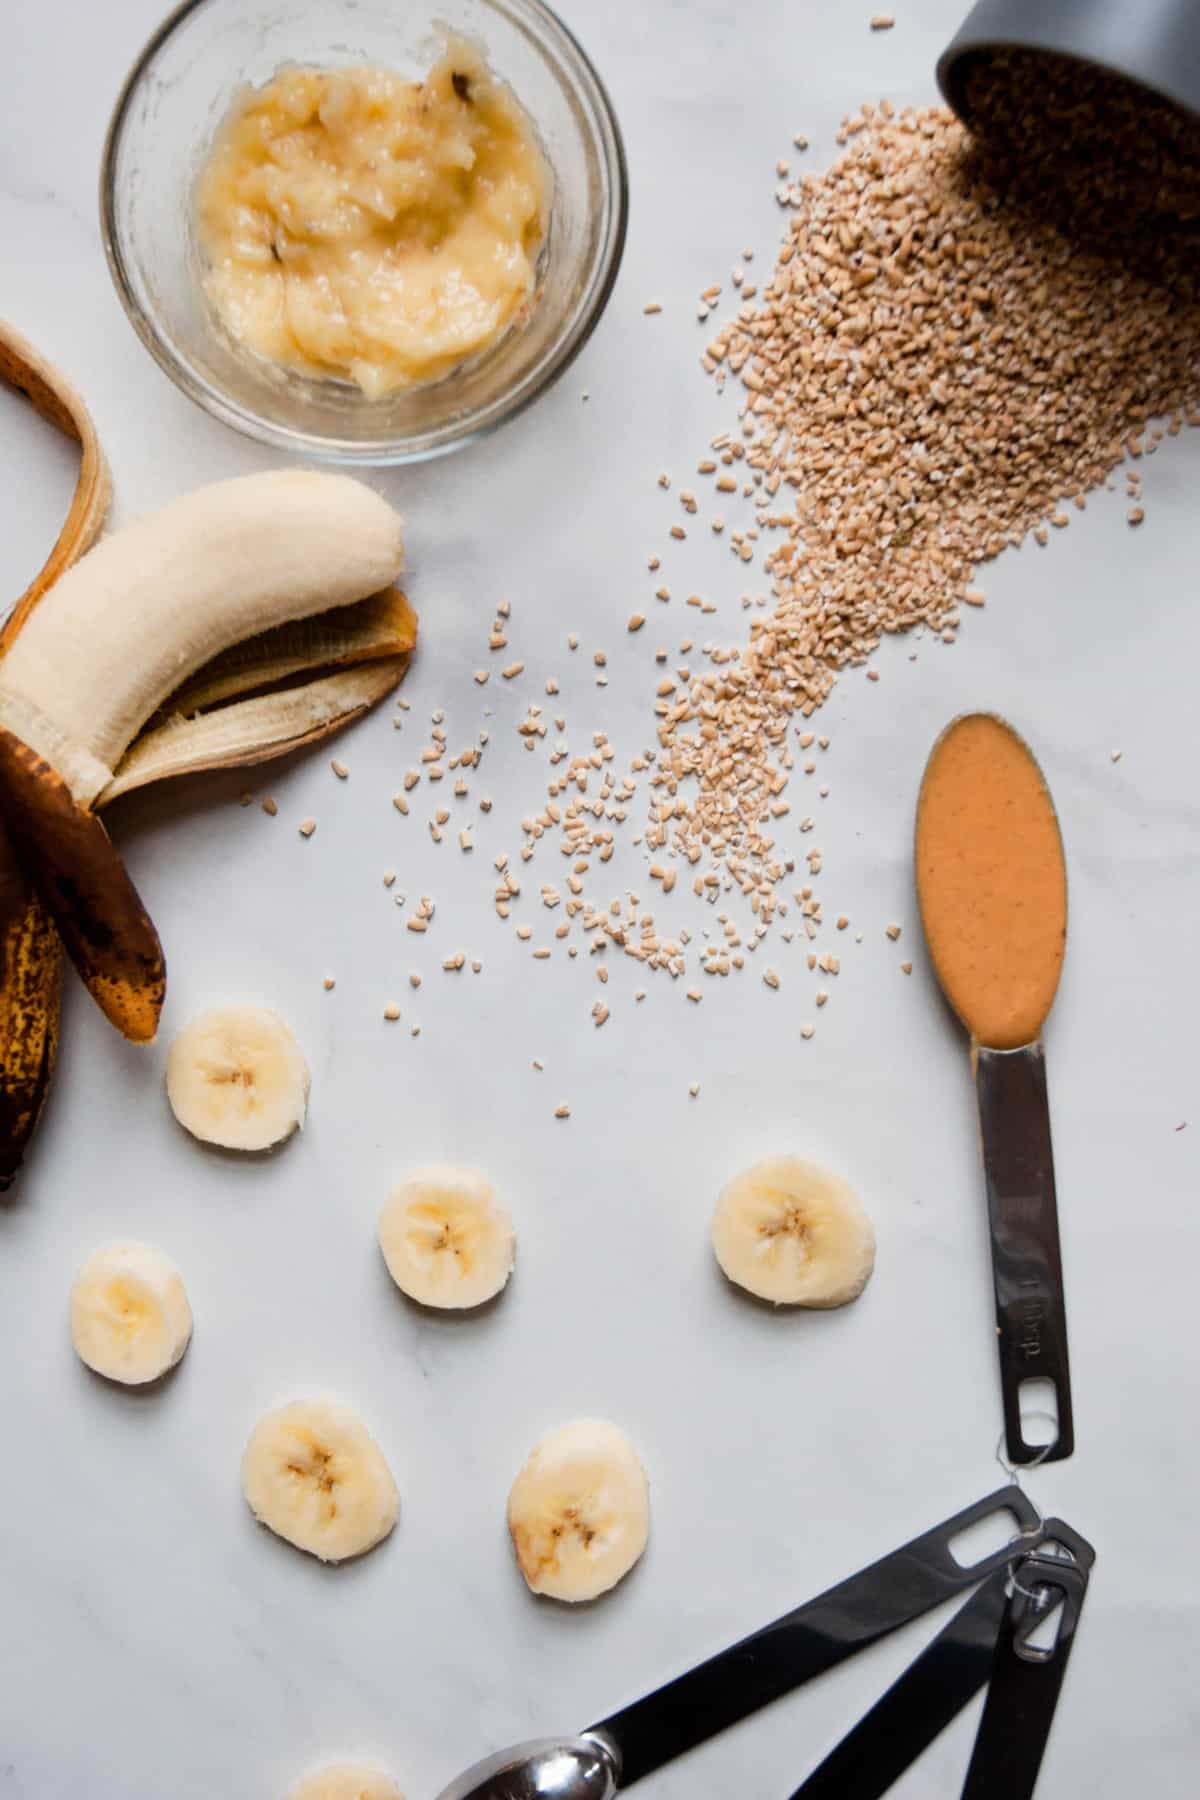
Ingredients in Creamy Steel Cut Oatmeal
I started cooking steel cut oatmeal with almond milk, adding in some form of healthy fat like coconut or peanut butter, topping it with fruit, and I quickly realized just how versatile oatmeal really is. There is so much that can be done with a big bowl of creamy oats.
- steel cut oats
- banana
- maple syrup
- coconut oil
- almond milk
- peanut butter
- salt
The whole things calls for seven simple ingredients, and can be adjusted to your liking. Allergic to nuts and can’t have peanut butter? Sub the nut butter for tahini, one of my favorite things to do. Don’t have any maple syrup? Honey is a great sweetener to use in it’s place.

How to make steel cut oats
The first thing you are going to do when making creamy steel cut oatmeal is add your oats and almond milk to a saucepan. Once these two have been brought to a boil, reduce heat to low and simmer for 15 minutes. Be sure to stir occasionally.
Once the steel cut oatmeal mixture has thickened up, turn off heat. It will continue to get thicker as it sits.
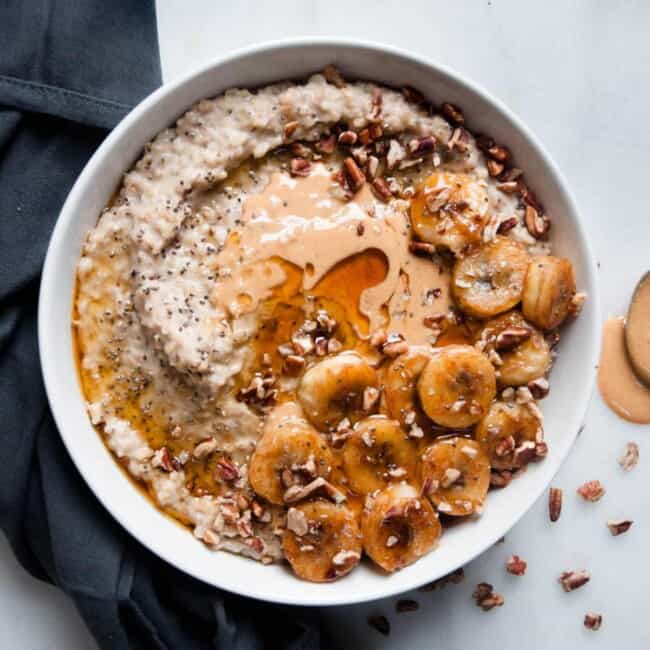
Right when you turn off the heat, use a whisk or fork to stir in the mashed banana, coconut oil, syrup, peanut butter, and salt. You’ll want to be sure that you have broken up any chunks.
Add toppings of choice and serve immediately. I like to add caramelized bananas, more peanut butter, and maple syrup. In order to caramelize bananas, dice them into coins. Get a pan nice and hot on the stove with some ghee or coconut oil, then sprinkle in some cinnamon and coconut sugar. Add in your banana coins and sprinkle the other side with cinnamon and coconut sugar. Cook for only thirty seconds on each side and then turn off the heat.


Storing oatmeal
They will last for one week in the fridge.
If making for the week ahead, just add a splash of almond milk and reheat in the morning in the microwave or on the stove top.
Enjoy!
If you liked this recipe, you’ll want to try these!
If you make this recipe, be sure to comment below and let me know how it was! Also tag @erinliveswhole on Instagram and use the hashtag #erinliveswhole so I can see it and feature you!
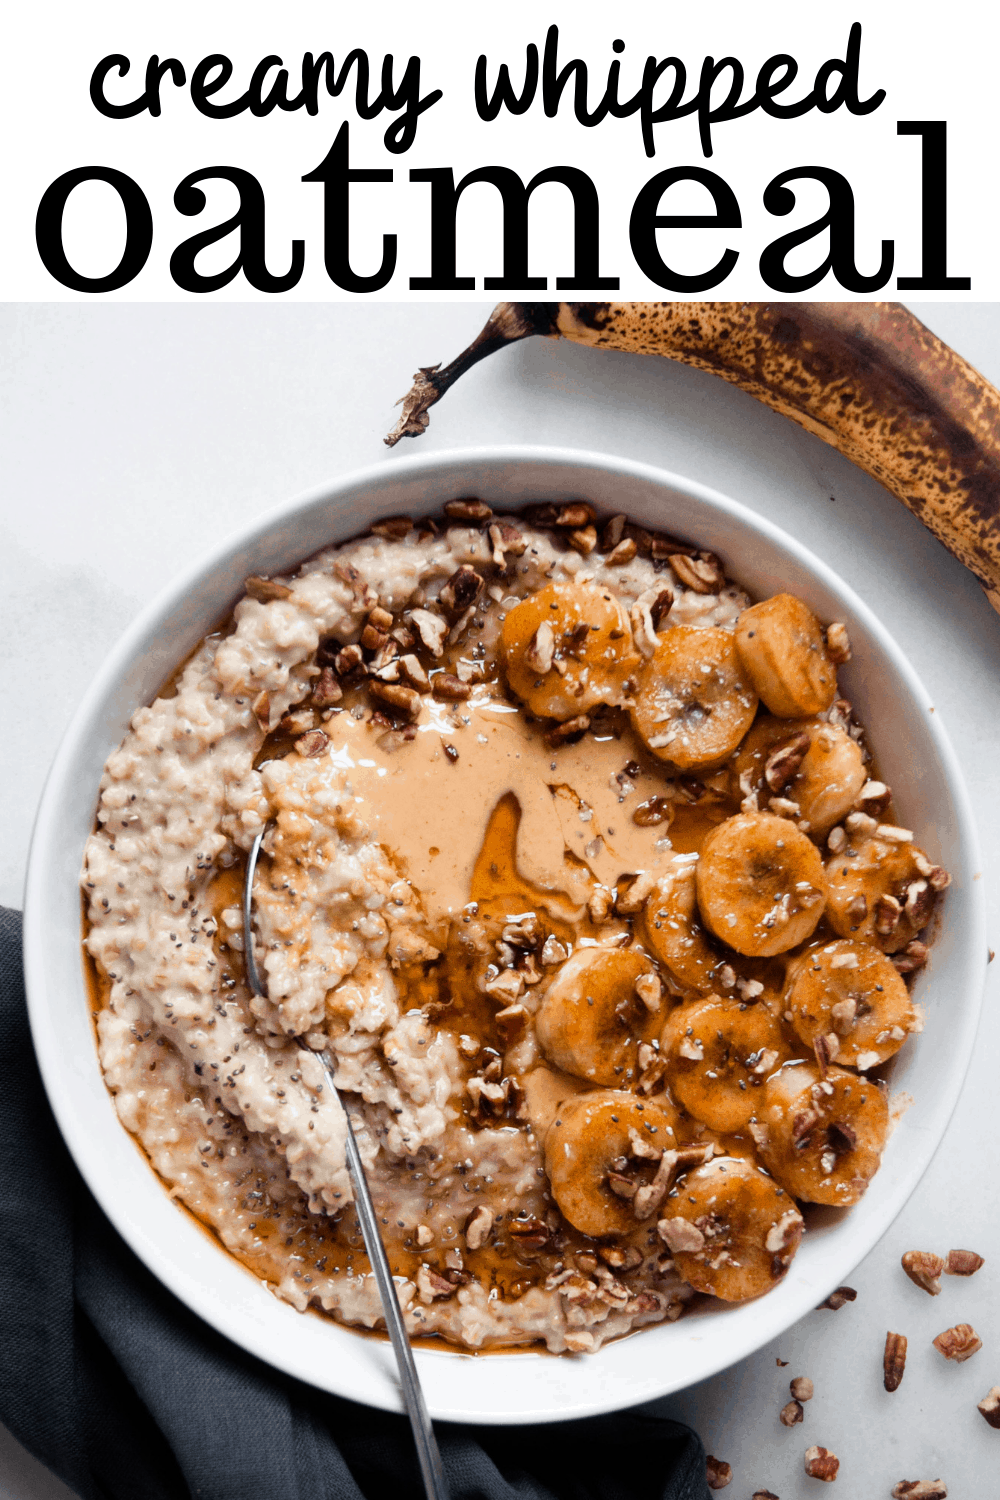
Creamy Whipped Banana Oatmeal
Want to learn how to make creamy steel cut oatmeal that is healthy and thick? This easy recipe has you covered. Made with steel cut oats, maple syrup, and almond milk, this oatmeal is the best for vegan and dairy free eaters alike.
Ingredients
- 1/2 cup steel cut oats (can use regular rolled oats, just reduce cooking time by 5 minutes)
- 2 cups almond milk
- 1/2 overripe, mashed banana
- 1/2 Tbsp coconut oil
- 1 Tbsp maple syrup
- 1/2 Tbsp peanut butter
- 1/8 tsp salt
Instructions
- Add oats and almond milk to a saucepan and bring to a boil.
- Once boiling, reduce heat to medium-low and simmer for 15 minutes. Be sure to stir occasionally.
- Once mixture has thickened up, turn off heat. It will continue to get thicker as it sits.
- Add in mashed banana, coconut oil, syrup, peanut butter, and salt. Use a fork to whisk and break up any chunks.
- Add toppings of choice and serve immediately.
- If making for the week ahead, just add a splash of almond milk and reheat in the morning in the microwave or on the stove top.


Ana says
Creamy and delicious! Pai loved it too! 💕
Erin says
Hi Ana, so happy it was a hit! 🙂
Lexy Ritz says
This is going to seem like such a dramatic review for oatmeal but it’s THAT good. I’ve seen this on Erin’s page many times but I’ve never made it because I make plain oatmeal all the time and add toppings and I thought how different can this really be? Finally tried it out this morning and I’m now OBSESSED. I didn’t have bananas so I followed all the steps minus that and added some extra almond milk and it’s soooo good. This will be my go-to breakfast now! Thanks Erin!
Erin says
Hi Lexy, so happy you loved them so much and made it your own!! 🙂
Angie says
Delicious oatmeal!
Erin says
Hi Angie, so glad you loved it! 🙂
Linda Holub says
Very tasty
Erin says
Hi Linda, so glad you enjoyed it!!
Lizzie says
The best oatmeal!! So delicious and creamy. Thank you for the recipe.
Erin says
Hi Lizzie, so happy you loved it! 🙂
Danielle says
This is my fave oatmeal recipe of all time! (Husband’s too!) I make it all the time especially when the weather gets chillier and I want something satisfying and cozy. This week I meal prepped it into mason jars ahead of time and it keeps really well! So delicious!
Erin says
Hi Danielle, so happy you both loved it!!
Mon says
Looked like a Common one, it definitely isn’t! Delicious 🙂
Erin says
Hi, so glad you enjoyed it!
Nayeli says
Your recipes never disappoints. I love this oatmeal recipe even my toddler thought it was delish! (I added less syrup for hers). It was gone pretty quick I’ll have to make more for the week:)
Erin says
Hi Nayeli, so happy you both enjoyed it!! 🙂
Dona says
I eat oats almost everyday and decided to try this recipe..SO glad it did because it was truly delicious. This will be my new staple oatmeal recipe. Thank you for sharing!
Erin says
Hi Dona, so glad you loved it!! 🙂
Kate says
Make this at least twice a month. Tried and true recipe never disappoints!
Erin says
Hi Kate, so glad you loved it!!
Kayla says
I’ve never made stovetop oatmeal but after making this once, I’ll never buy store bought oatmeal again! It was so creamy and delicious! Can’t wait to experiment with different flavors.
Erin says
Hi Kayla, so glad you loved it so much!!
Rachael says
This is too good! I could eat it for breakfast every single day!
Erin says
Hi Rachael, so glad you enjoy it!!
Danielle says
Literally my favorite breakfast ever. So cozy, satisfying and flavorful. Husband approved too!! Thank you Erin!!
Erin says
Hi Danielle, so glad you both loved it!
Rachel S says
Quick, easy and delicious!
Erin says
Hi Rachel, so glad you liked it!!
Rachel S says
Follow up: I’ve made this many many times on a Sunday as make ahead breakfast for my family for the week. I use regular oats and follow the directions on the oats and then add all the ELW ingredients at the end (including a heavy handed scoop of peanut butter 🙂 ). My family LOVES this dish and I love being able to give them a warm breakfast that’s easy to make and delish.
Erin says
Hi Rachel, so glad the oatmeal was such a huge hit and yay more peanut butter the better! 🙂