This post may contain affiliate links. Please read my disclosure policy.
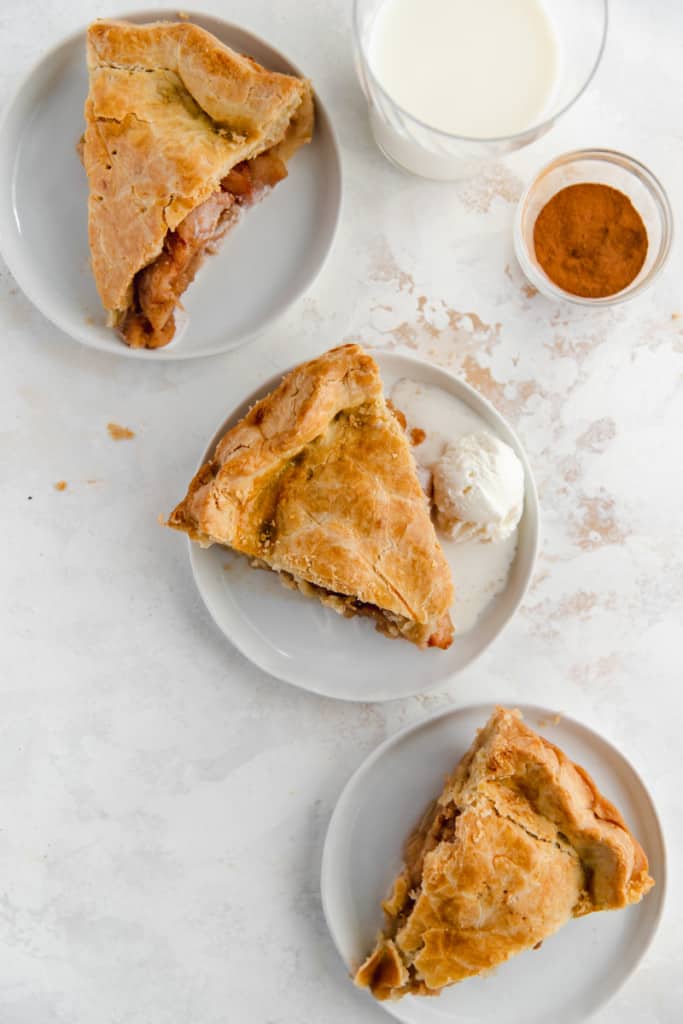
Treat yourself to a Thanksgiving season classic with this Gluten Free Apple Pie. Made with homemade crusts and a delectable filling, this is an apple pie that family and friends will rave about for years to come.
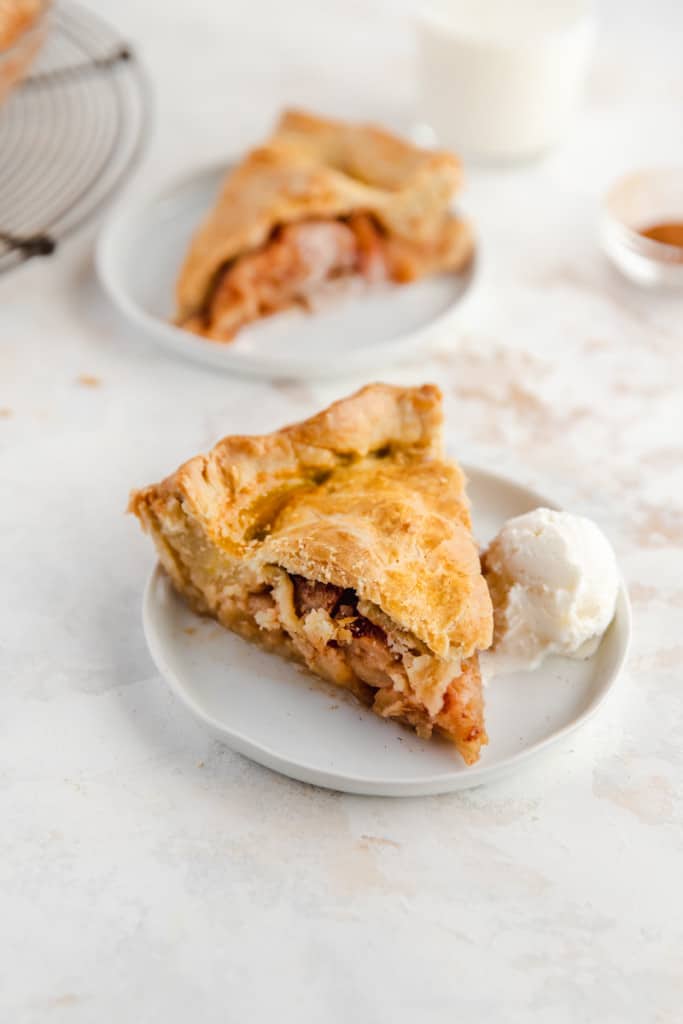
The best apple pie recipe, ever
Need something sweet to enjoy after the main course is wrapped up? Look no further than this rich and warm gluten free apple pie. Made with a homemade crust of all-purpose flour, coconut sugar, butter, and eggs and a flavorful filling of honey crisp and granny smith apples, this apple pie is nothing short of delicious.
Below I list step-by-step instructions for assembling a beautiful pie that’s complete with pressed edges and an optional apple design on top.
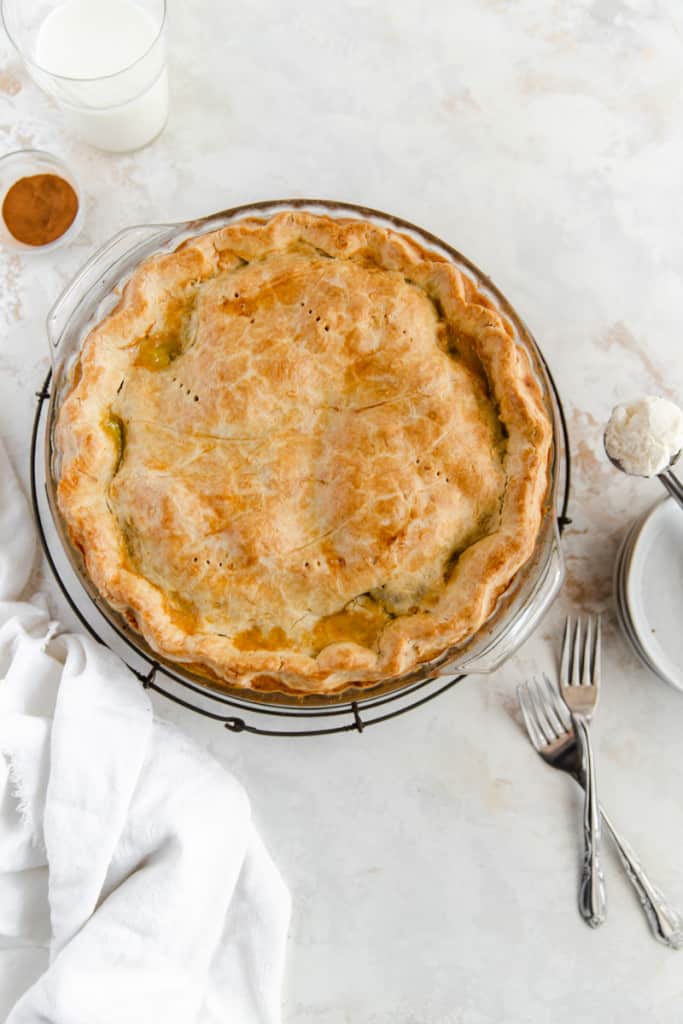
Ingredients in gluten free apple pie
This isn’t your every day apple pie. Made with coconut sugar, nutmeg, and a mix of honey crisp and granny smith apples, this dessert is something else. I love to eat it after dinner with a warm cup of coffee (or even hot cocoa) for all of the cozy weather vibes.
Double Crust
- All-purpose Gluten Free flour: First up, all-purpose flour will be used as the base for the crust. I like to use the Bob’s Red Mill 1-to-1 Baking Flour or the King Arthur gluten-free option.
- Coconut sugar: Next, we’ll sweeten things up with 1/4 cup of coconut sugar!
- Salt: Add a bit of flavor with 1 tsp of salt.
- Butter: As for the butter, you’ll need 1 cup chilled and cubed.
- Eggs: 2 eggs will help add to the consistency of the crust.
- Milk: Finally, you’ll need 8-10 tbsp of milk.
Note: The milk will need to be added (step #4) one tablespoon at a time. You want the dough to be moist while still forming a ball easily.
Apple Filling
- Apples: For the apple filling you will need 6 medium sized peeled, cored, and sliced apples. Make sure the slices are thin. Additionally, 3 sweet apples and 3 tart apples is ideal; I used honey crisp and granny smith.
- Lemon juice: Next up, 1 tbsp of lemon juice will add a bit of zing to this apple dessert.
- Vanilla: It’s amazing how much vanilla can change the flavor of recipe, even in small amounts! For this recipe 1 tsp goes a long way.
- Coconut sugar: Grab the coconut sugar again because you’ll need 1/2 cup for the filling.
- Cinnamon: 1 tsp of cinnamon will add a great amount of flavor.
- Nutmeg: Similarly, 1/4 tsp of nutmeg will add so much flavor to this pie.
- Salt: Include a dash of salt in the amount of 1/4 tsp.
- Flour: Finally, you’ll need 2 more tbsp of gluten-free flour.
An egg wash will be used on the top of the pie to help it reach a golden brown color. This can be created by simply whisking and brushing one egg on top of the pie once assembled.
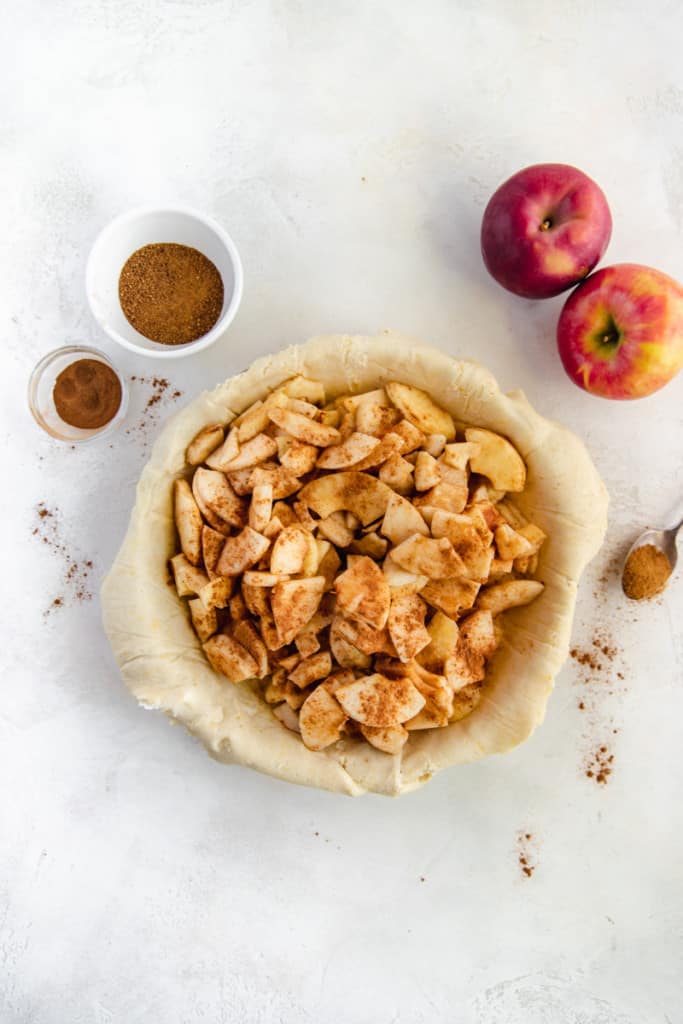
Tools used to make this apple dessert
For this dish you’ll need a number of tools including a mixing bowl, pastry cutter or fork, and a few other items, all listed below.
- 2 mixing bowls
- Pastry cutter or fork
- Pie dish
- Parchment paper
- Rolling pin
- Measuring cups: 1/4 tsp, 1 tsp, 1 tbsp, 1/4 cup, 1/2 cup, 1 cup
How to make this gluten free apple pie recipe
Apple pies are always a tricky feat, but with my step-by-step instructions you’ll be well on your way to easy peasy apple pie glory. We’ll start with making the crust which we will later divide in half for a simple assembly. To finish it up we will dive into the gluten free apple pie filling of apples, lemon juice, cinnamon, and nutmeg.
To make the crust:
To begin, combine the flour, sugar, and salt in a bowl.
Using a pastry cutter or fork, blend the butter into the flour mixture until small crumbs are formed and it is well incorporated.
Next, add one egg. The mixture will still be fairly dry.
Slowly add in the milk until a ball starts to form and the crust resembles dough.
Finally, place in the fridge for 30 minutes.
To make the filling:
For the filling, begin by adding the cored, peeled, and sliced apples to a bowl.
Add the lemon juice, coconut sugar, cinnamon, nutmeg, and salt to the apples and mix.
Stir until the apples are completely coated.
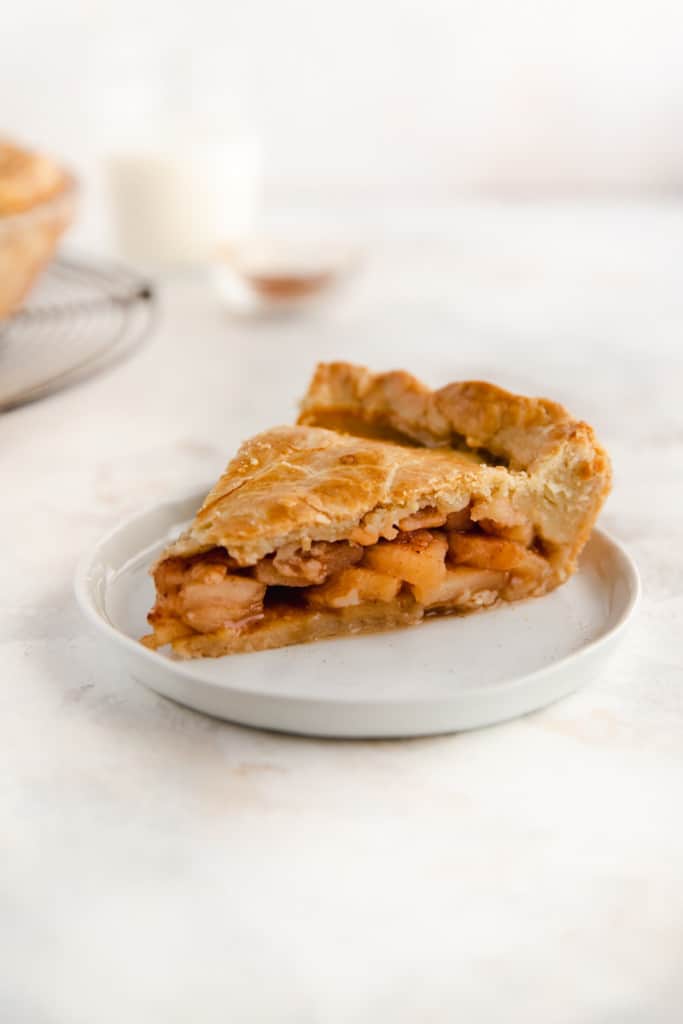
Assembling and baking:
Preheat the oven to 350F and grease a pie dish.
Take your dough out of the fridge and cut it in half. Place one of the halves between two sheets of parchment paper.
Using a rolling pin, roll out the dough to the side of the pie pan. Repeat this twice so that you have two crusts.
On one crust, peel off one side of the parchment paper and place the greased pie dish upside down on top the crust.
Flip it over and press down into the dish, ensuring that the crust is flat on the dish. The crust may roll over the sides, but that’s oaky as we will pinch it with the top layer.
Place the apples in the crust and stack them up high. Note that they’ll shrink down during cooking.
Peel the parchment paper off of the second crust and layer it on top of the apples. Pinch the sides together or use a fork to seal. You may have excess crust that you can discard or use to create a design for the top.
Next, brush the top of the crust and the sides with the egg wash. Add fork pricks or slits to the pie to let steam escape.
Bake in the 350F oven for 50-55 minutes, or until golden brown and bubbly.
Let cool before serving.
How to store this dish
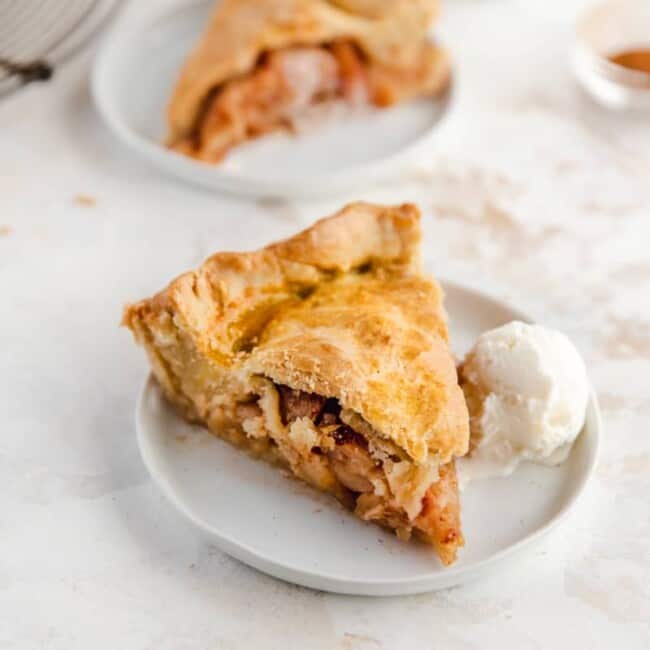
Left over apple pie can be kept at room temperature for up to 3-4 days. If you’d like it warm, pop a slice in the oven for a few seconds and enjoy! You could even add a dollop of vanilla ice cream on top for extra deliciousness.
If you liked this recipe, you’ll want to try these!
Gluten Free Apple Pie
Treat yourself to a Thanksgiving season classic with this Gluten Free Apple Pie. Made with homemade crusts and a delectable filling, this is an apple pie that family and friends will rave about for years to come.
Ingredients
Double Crust
- 4 cups Gluten Free All Purpose Flour (I used Bob’s Red Mill 1-to-1 GF Baking Flour or King Arthur GF)
- 1/4 cup coconut sugar
- 1 tsp salt
- 1 cup chilled butter, cubed
- 2 eggs
- 8–10 tbsp milk (add in by one tablespoon at a time, you want it moist and able to form a ball easily)
Apple Filling:
- 6 medium sized apples, peeled, cored and sliced thin (3 sweet apples and 3 tart apples, I used Honeycrisp and Granny Smith)
- 1 tablespoon lemon juice
- 1 tsp vanilla
- 1/2 cup coconut sugar
- 1 tsp cinnamon
- 1/4 tsp nutmeg
- 1/4 tsp salt
- 2 tbsp gluten-free flour
– Egg wash, one egg beaten to brush on top
Instructions
Crust
- In a bowl, combine flour, sugar, and salt.
- Using a pastry cutter or fork, blend butter into flour mixture until small crumbs are formed and it is well incorporated.
- Add in eggs, mixture will still be fairly dry.
- Slowly add in milk until ball starts to form and crust resembles dough. Wrap into balls in saran wrap.
- Place in fridge for 30 minutes.
Filling
- Add cored, peeled, and sliced apples to a bowl.
- Add lemon juice, coconut sugar, cinnamon, nutmeg, and salt to apples and mix.
- Stir until apples are completely coated.
All together
- Preheat oven to 350F. Grease a pie dish.
- Take your dough out of the fridge and cut in half. Take half and place between two sheets of parchment paper.
- Using a rolling pin, roll out to the size of your pie pan. Repeat this twice so you have two crusts.
- On one crust, peel off once side of parchment paper and place greased pie dish upside down on crust.
- Flip it over and press down into dish, ensuring the crust is flat on the dish, tucked into the sides and flat against the walls. The crust may roll over the sides, but that is okay as we will pinch it with the top layer.
- Place apples into pie crust and stack them up high, they will shrink down during cooking.
- On other crust, peel off parchment paper and layer onto top of apples. Pinch sides together or use a fork to seal. You may have excess crust that you can discard or create an apple design for the top.
- Brush top crust and seals with egg wash.
- Bake in a 350F oven for 50-55 minutes or until golden brown and bubbly.
- Let cool completely before serving.
- Store at room temperature for 3-4 days.
There may be affiliate links in this post! By purchasing a product I recommend, I may receive a small compensation. However, I only recommend products I absolutely love and use myself. Thank you for supporting Erin Lives Whole, it helps keep this blog afloat 🙂

Katie says
Hey Erin! I’m thinking about using this crust recipe with a cherry pie this year for the holidays but wondering if the dough can be made ahead of time and stored for a day or so before assembling the whole pie. If so, would you suggest freezing or refrigerating it, and then how long should it sit out for before rolling?
Erin says
Hi Katie, yes of course and I’d just refrigerate it then let it sit out and come to room temperature before you use it. Let me know how your pie comes out!
Melissa says
Hello! I made this pie for Thanksgiving! I made two smaller pies with the recipe and made it dairy free, gluten free, and nut free! I spent Thanksgiving with my boyfriend’s family, and they are neither dairy or gluten free but I am! They loved the apple pie just as much as their usual “unhealthy” version! Even his teenage siblings had several slices!!! I highly recommend it!! 🙂
★★★★★
Erin says
Hi Melissa, I am so glad to hear that!! Thank you for sharing!!
Meg says
Hi! I am excited to try this pie. Do you think you could use vegan butter and almond milk to avoid dairy? Thanks!
Erin says
Yes! both should work 🙂