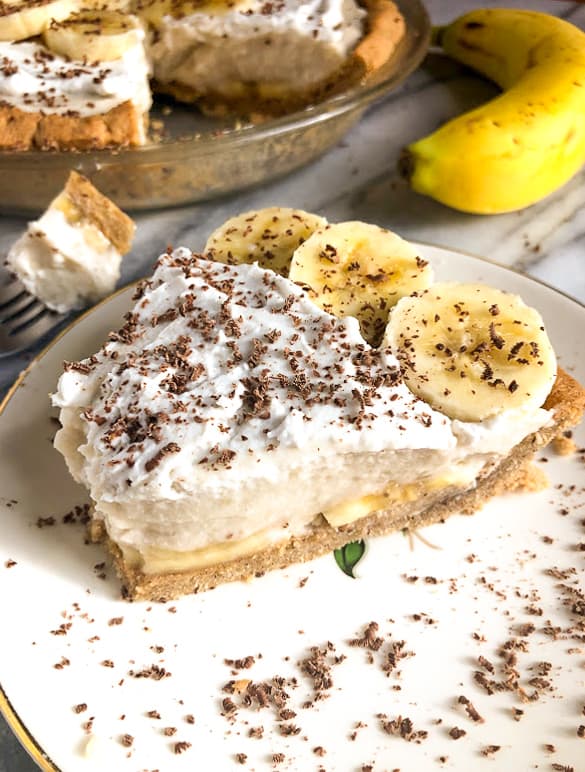
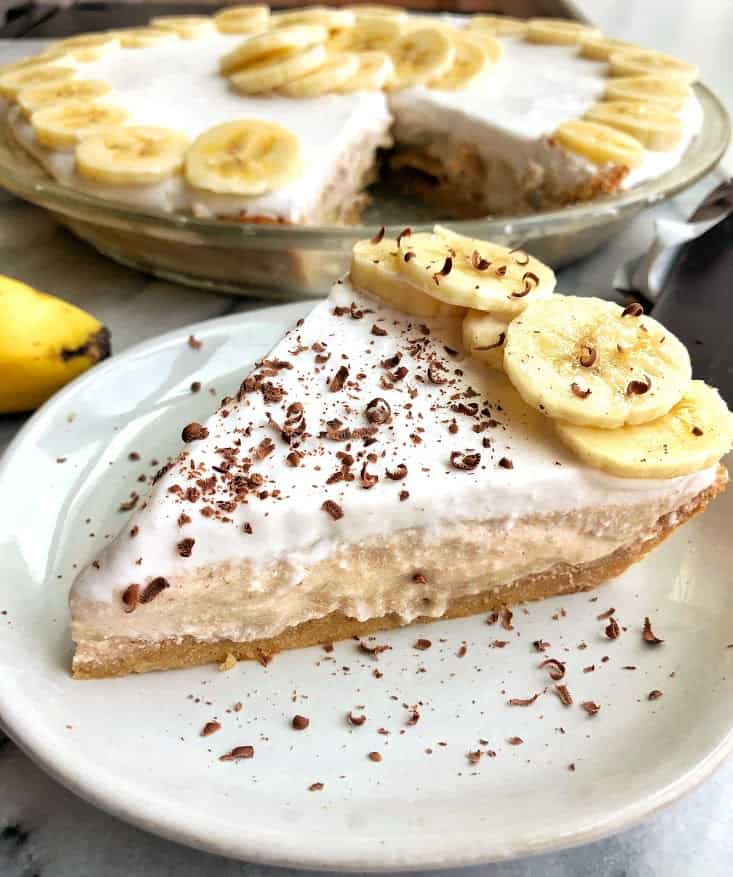
This Healthy Banana Cream Pie is easy, delicious, and only requires a few ingredients. Flaky gluten-free graham cracker crust, creamy banana cream filling, and delicious coconut whip on top.

We all have that one dessert that reminds us of our growing up, and for me, that dessert is banana cream pie.
One bite of this healthy banana cream pie and I’m immediately taken back to my first ever job at a retirement home where I worked in the kitchen and the dining room as a server.
They had a rotating menu of different pies, crisps, cakes, ice cream, and they always made enough for the servers to have some too.
When I am really craving a banana dessert, I make my pie and then Healthy Banana Cupcakes With Cream Cheese Frosting to have all week long.

I started that job when I was 16 because parents had always wanted me to get a job right when I was able to drive so I could pay for my own gas and car insurance, but anyway, I worked there for the next 2 years and the best days I had that were there were ones where they were serving my absolutely favorite dessert: Banana Cream Pie.
When I showed up at work, I would check the dessert menu almost immediately and if I saw Banana Cream Pie on the menu, I knew it was about to be an amazing work shift.
For anyone who put in their slip, they would line-up our dinners and desserts for after our shift ended and I would eat that banana cream pie faster than anyone. It was so good.
I had wanted to create a version of healthy banana cream pie that was also dairy-free and gluten-free so that it could be enjoyed by everyone!
I shared the pie with many people and everyone loved it, healthy eaters and non-healthy alike. It was really easy to make too.
How do you make the healthy banana cream pie?
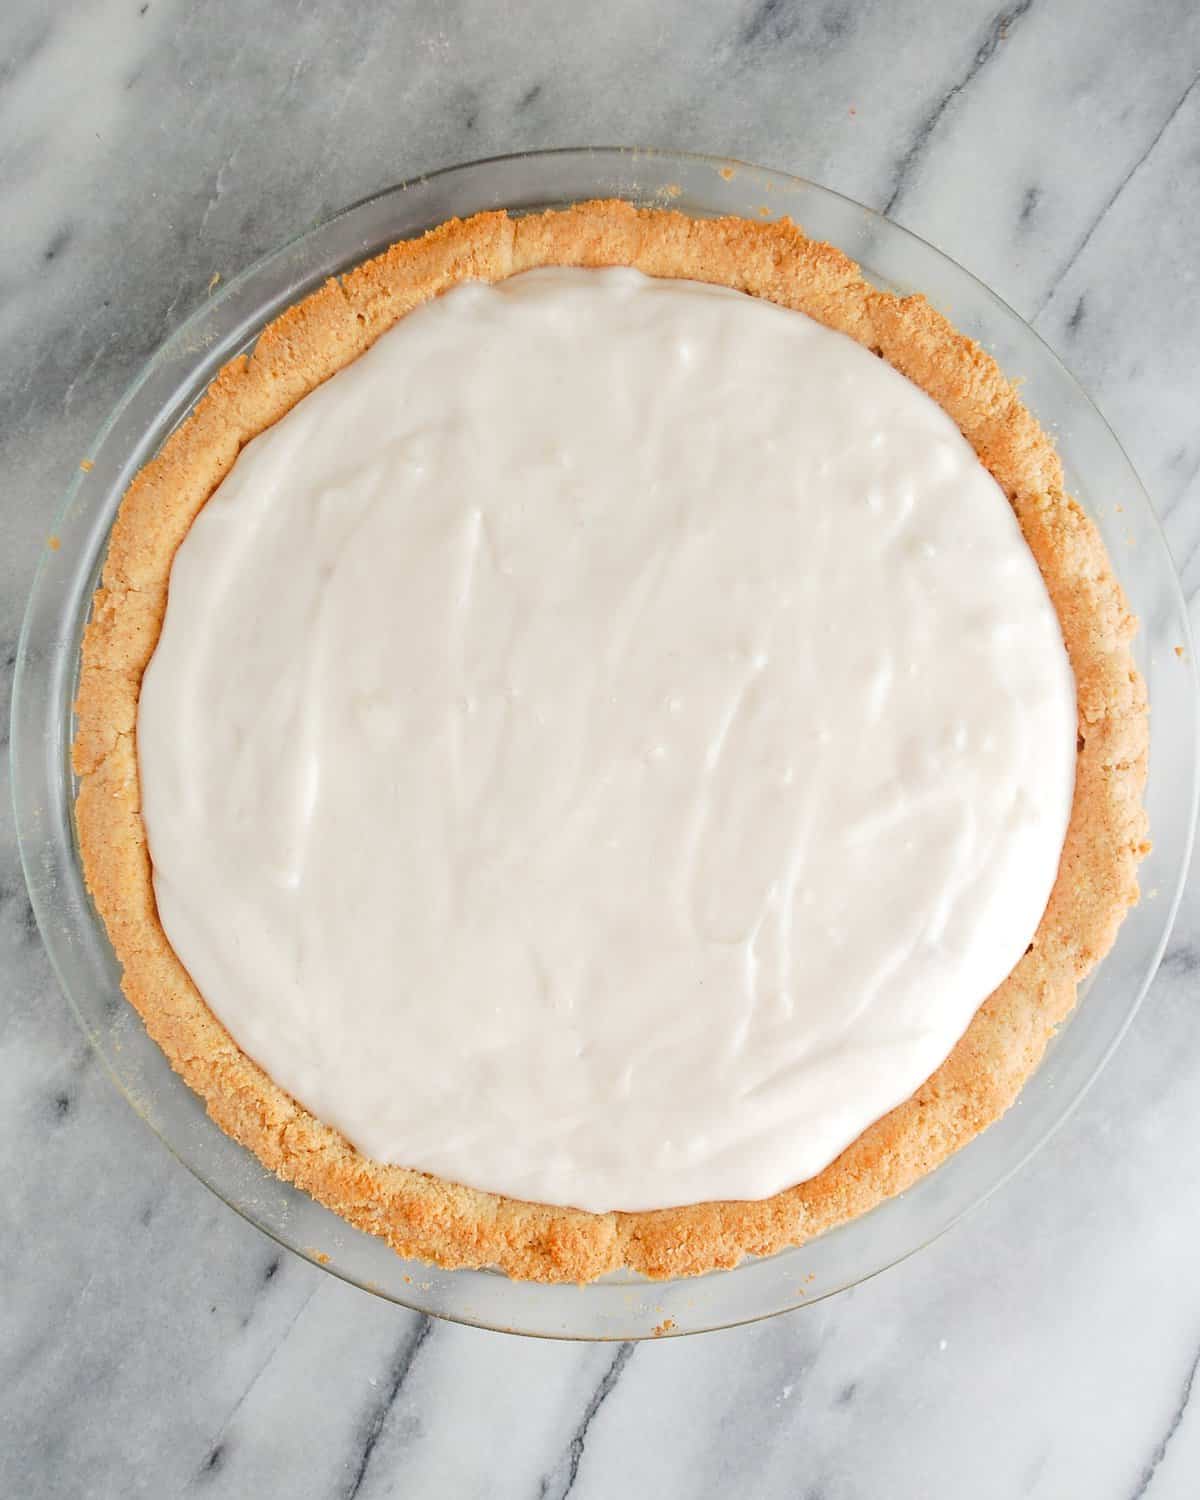
The first thing you want to do is make the crust. It can be prepped ahead up to 24 hours before, or made the same day but needs to be completely cooled before adding anything to it.
While the crust is cooling, whisk together the coconut milk and maple syrup over medium high heat on the stove. Once you start to see little bubbles, lower heat to medium and vigorously whisk in cornstarch and water mixture.
Keep whisking on and off for the next 2-3 minutes until bubbling again, then turn off heat once bubbles have returned (and keep whisking!). The mixture should be thicker than liquid now and ‘dribble’ when you lift up the whisk.
Pour into bowl, cover with wrap, and place in fridge for two hours.
While chilling, make coconut whipped cream. Place in fridge to chill. Note that I tried 4 different jars of coconut milk before finding one that worked for the whipped cream – the best brands are Wild Harvest or Whole Foods 365 Full Fat.
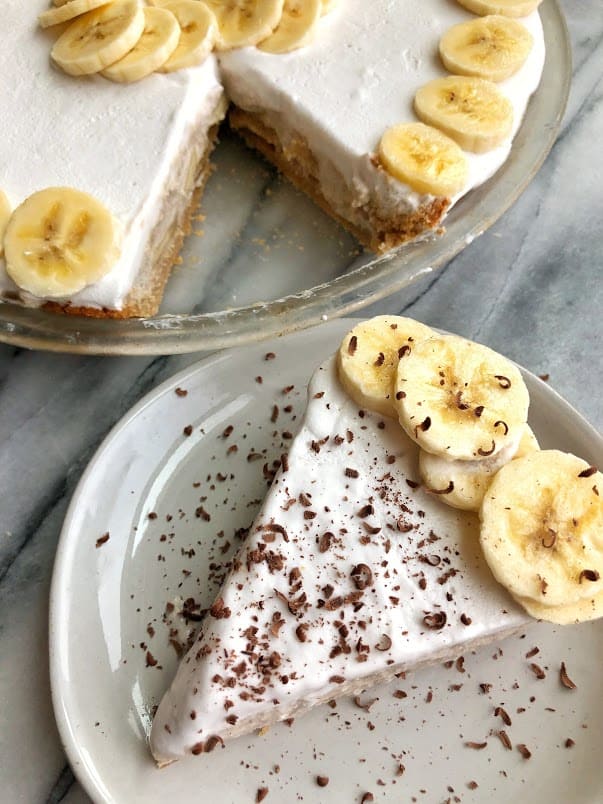
Once the crust is cooled, add a large sliced banana to the bottom of the crust. You want to make the slices at least 1/4 inch thick because they will stand up inside the pie.
Take the coconut/maple mixture out of the fridge and stir with a whisk to break up any clumps. Gently fold in 1/2 cup of the coconut whipped cream and pour on-top of sliced bananas in crust.
Place the pie back in the fridge for at least two hours.
Top the rest with the remainder of the coconut whipped cream and let sit in the fridge for at least 4 hours or overnight. Top with bananas, chocolate shavings, or whatever you would like!
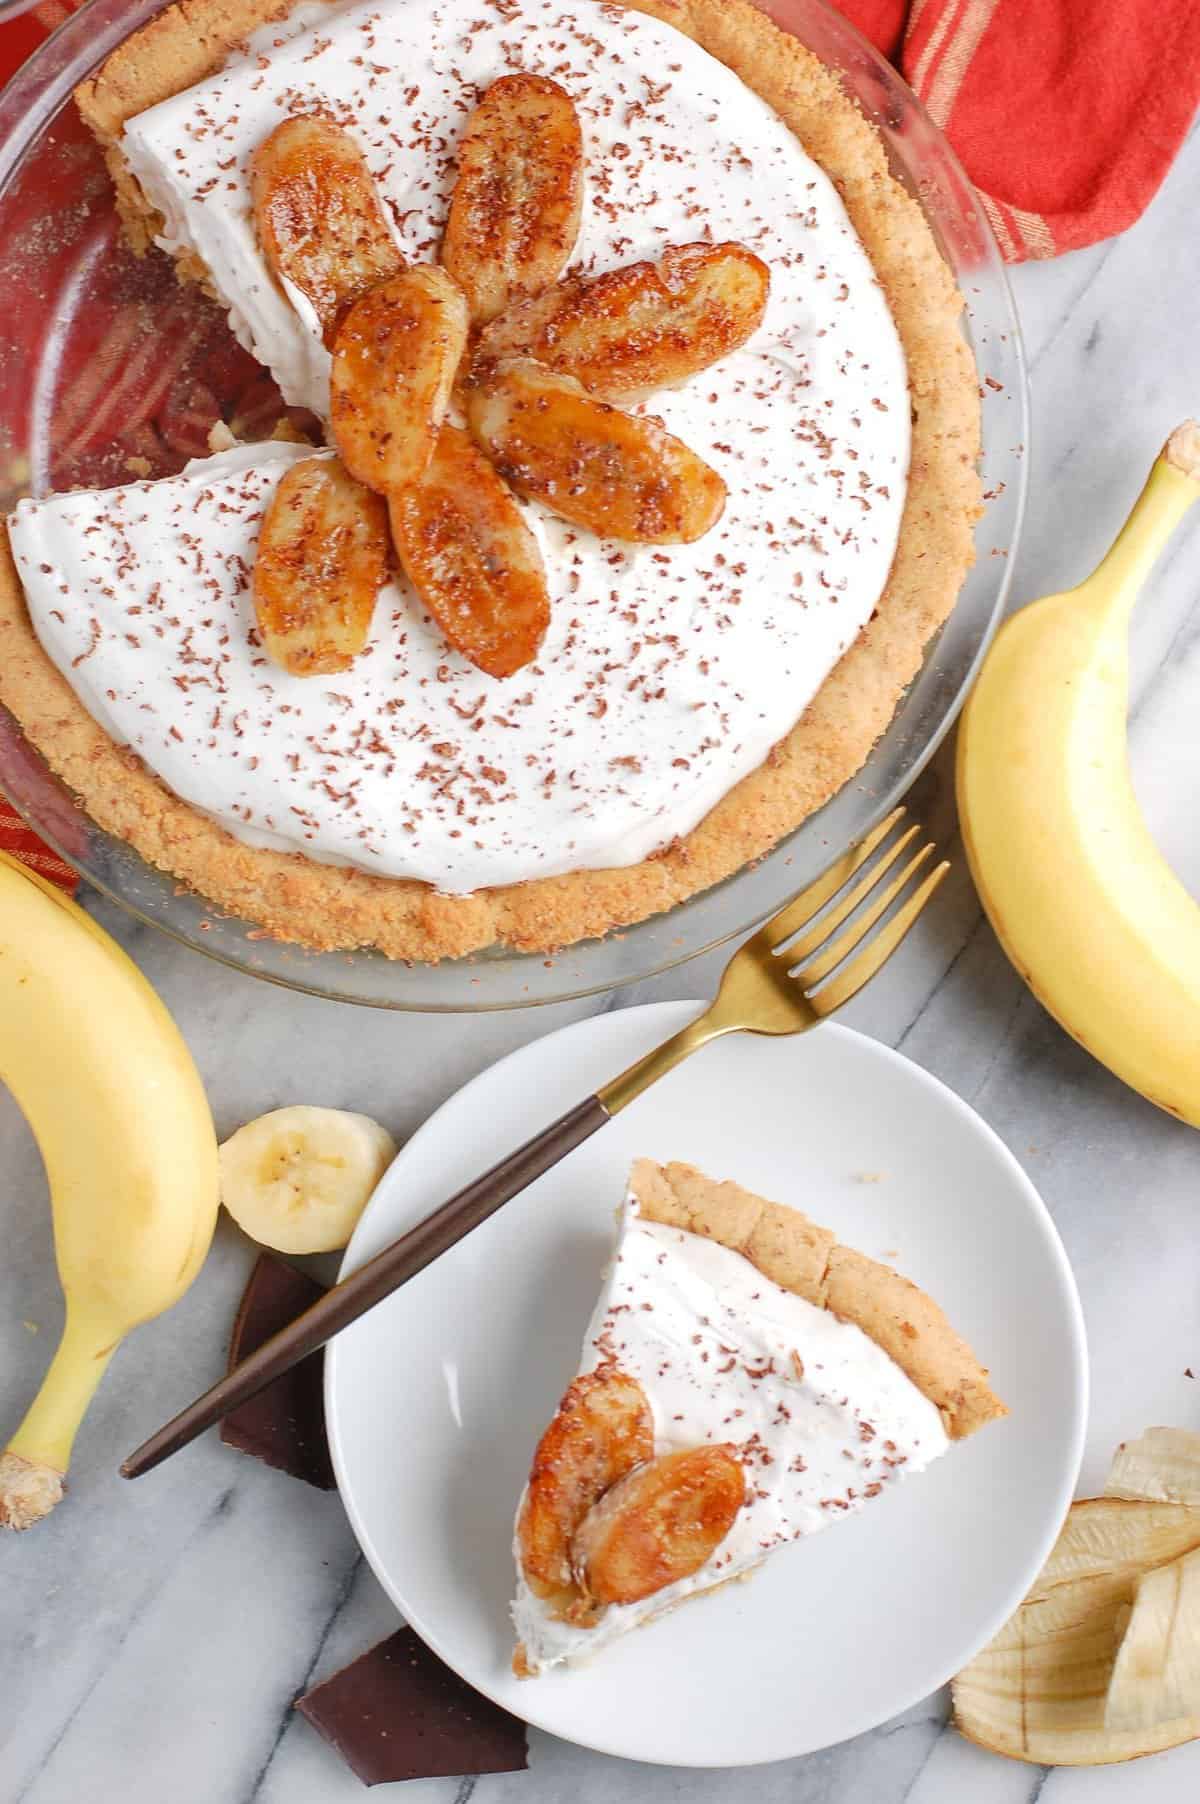
I caramelized bananas on the stove with 1 teaspoon of coconut sugar and 1/2 tsp cinnamon.
If you make this healthy banana cream pie, be sure to let me know!

If you like this recipe, you may like:

Healthy Banana Cream Pie
Ingredients
Method
- Preheat oven to 350F. Prepare pie dish by greasing.
- In a large bowl, mix the almond flour, baking powder, cinnamon, and salt with a whisk.
- In a small bowl, combine egg, maple syrup, and oil.
- Add to almond flour mixture and stir till combined.
- Press into greased pie dish and pierce with fork.
- Bake for 14-16 minutes or until golden brown.
- Let cool completely before adding banana topping.
- In a sauce pan, heat coconut milk and maple syrup over medium heat until bubbles start to form.
- Whisk in cornstarch mixture vigorously and stir every so often. Once it starts to boil rapidly, keep stirring for 2-3 minutes or until thickens. The mixture should have thickened and looks slightly jiggly.
- Turn off heat once slightly thickened, continuing to whisk.
- Pour into bowl, cover with plastic wrap, and let cool in refrigerator for minimum two hours.
- While cooling, it’s time to make the coconut whipped cream.
- Using a hand mixer and a COLD bowl, beat coconut cream (top part of can), maple syrup, and vanilla until fluffy. Store in fridge until ready to use.
- When two hours is up, whisk coconut/cornstarch mixture from the fridge. There may be a few small clumps but that is okay.
- Gently fold in 1/2 cup of the coconut whipped cream.
- Once combined, slice a banana and place the slices at the bottom of the crust.
- Pour the coconut mixture over top of the bananas and refrigerate minimum two hours.
- Top with the rest of the whipped cream and chill for minimum 4 hours or overnight.
- Top more banana slices and chocolate shavings before serving. You can also caramelize bananas in a pan with a little coconut sugar and cinnamon over high heat for ~3 minutes for an added touch.
- Enjoy pie within three days.
Annie says
This recipe is fairly easy BUT takes some planning since it has to chill a lot! I made it the pudding with coconut cream and the whip cream with heavy cream because it’s what I had and it turned out great! I also used arrowroot starch instead of cornstarch and cornstarch is definitely better as I expected. Arrowroot can sometimes get too gummy and with the chilling it was a little clumpy but that’s my own doing! But the taste which is most important was delicious! Not too sweet or heavy! Erin does it again with a great recipe
Erin says
Hi Annie, so happy you enjoyed it and made it your own!!
Marianna Barua says
I made this recipe over the holidays since I have dietary restrictions and it did not disappoint! I was a bit skeptical at first since I find the flavor of coconut milk to be pretty strong, but I was so pleasantly surprised when I bit into the pie and banana flavor was the most predominant. I used the Thai Kitchen coconut milk (you can buy in in bulk at Costco) and it whipped super well and the creme formed really nicely. I also chilled the coconut milk overnight before whipping it, as that helps it to build the consistency. Will definitely make this again!
Erin says
Hi Marianna, I am so happy you found my recipe and enjoyed it!! Thanks for sharing!
Lois says
Super creamy and delicious! Added strawberries around the top for some pop of colour too. Everyone LOVED it!! Will definitely be making this again 🙂
As I had very little almond flour left – I substituted 2 1/4 C brown rice flour – it made way too much crust and didn’t really combine well…so only used half of it and it still tasted really good. What would be the correct flour measurement if you are not using almond flour please?
Erin says
Hi Lois, thank you so much for your kind words!! I havent tried the recipe with brown rice flour, but it looks like people recommend to use up to half of brown rice flour in gluten-free flour mixes. Before you bake, just check the proper ratio for whatever flour you’d like to use! Hope this helps and let me know how it comes out!
Joan Case says
Not a fun recipe. The ‘whipped cream’ did not materialize, after following directions to a ‘t’. Waste of time…after going through the rest of the recipe and having the whipped cream be a fail. High maintenance recipe w/o results.
Erin says
Hi Joan,
I’m so sorry the whipped cream wouldn’t whip for you! It takes a very certain type of coconut milk for it to work. Next time, I suggest buying Thai Kitchen, Whole Foods, or Wild Harvest Brand. Like I stated above, it took me four tries with coconut milk before I found the right one!
This also works great with store bought coconut whipped cream, so another option to consider!
Mim says
I’ve never been much of a baker until I came across your recipes, they’re amazing, and this was no exception! Who would’ve thought such a dessert could be made this healthy. Even the fussiest if fussy eaters ate it. Thank you Erin 😉
Erin says
That makes me so incredibly happy to hear!!!! I bet you are a marvelous baker.